picture that is appropriate and start with the basics and proceed from there. First thing I do with
any chop is to up the resolution from the crappy 72 dpi to 300. This allows me cleaner work overall.
This also adds some steps that may or may not be needed if you don't do this. After upping the
resolution, make sure your colors are set to black & white. Then create a new layer, in my case
will be named "falling snow" Then, because of my upped dpi I draw a small rectangular box and
fill it with clouds.
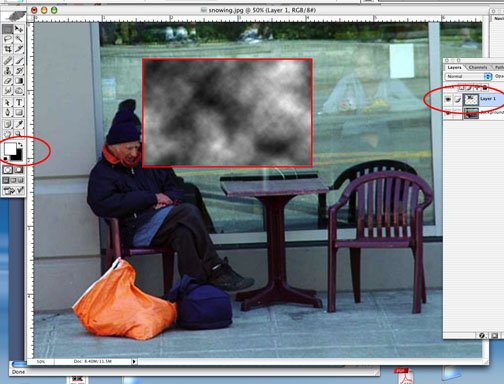
Here is the reason I use a small box, we do not want too much snow so the part I think
will work is here.
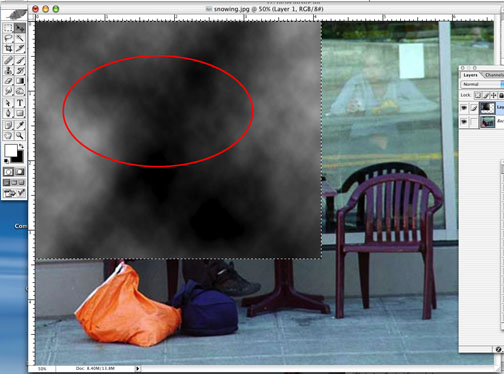
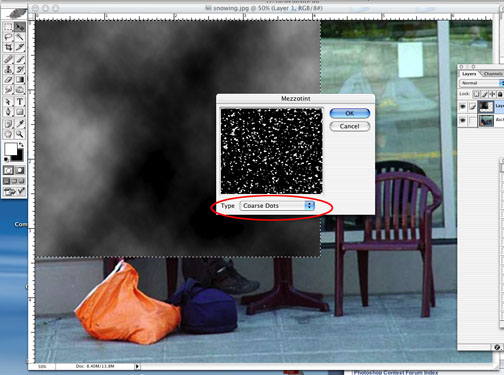
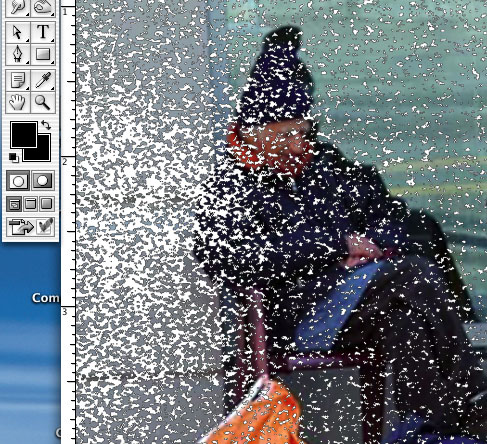
Now to the snow. Use Filters>Pixelate>Mezzotint>Coarse Dots. (The falling snow we see is close to our viewpoint)
and execute.
Now I expand the mezzotinted box across my picture and go to Select>Color Range and select
the black areas and delete. (Do not select the white area unless you want to do a Mount St. Helens picture)
My fuzziness is around 68, but then, that's just standard for me.
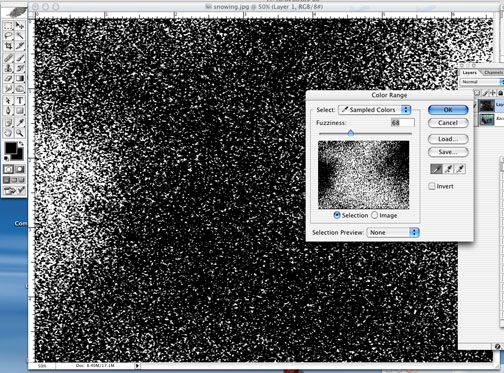
Sometimes, you have areas of too much snow. This is too much snow. Reduce it as you see fit.
Now, soften the effect with Filters>Blur>Motion Blur and these are the settings I have used
in this demonstration. They seem to work pretty well.
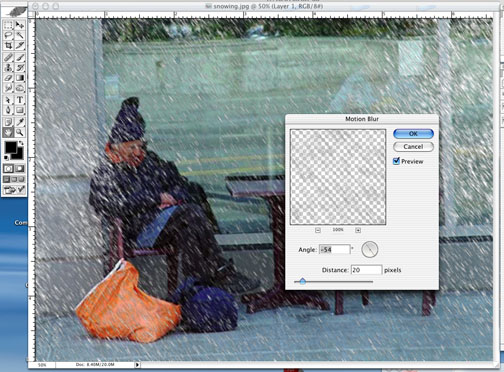
If you want to depict snow that has just started within the last few seconds this is as far as
you need go, but let's have a little on the ground to add that "chill factor" for the poor old fellow.
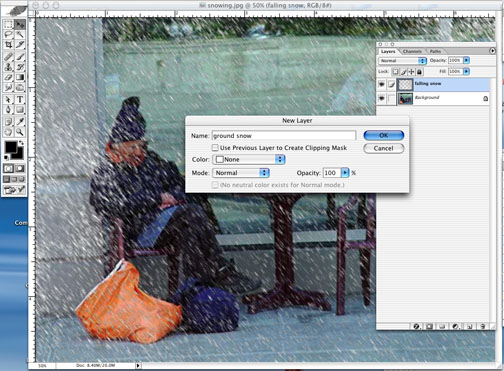
Start another layer for ground snow.
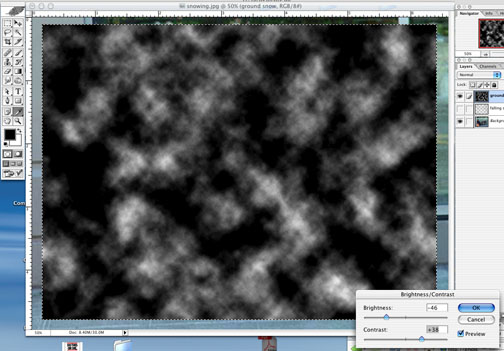
Fill pretty much the entire layer with clouds this time and adjust the brightness and contrast
to get a harsher, more defined look like so.
This time, when you go to Mezzotint, use fine dots and these snow flakes will be further away.
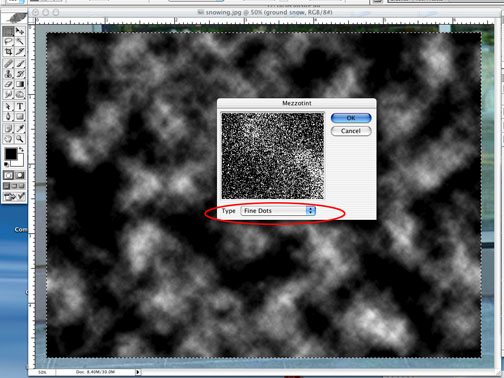
WOW!! Blizzard time! This is what you should get when you select and delete the black areas.
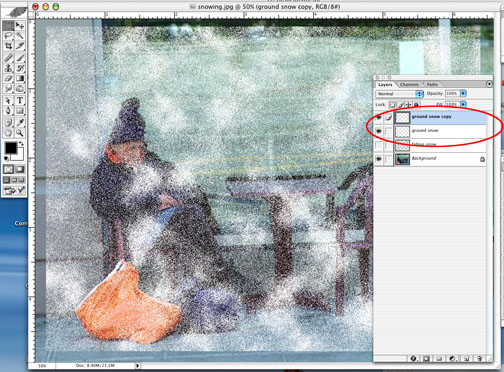
We need this much because we have to develop perspective someway since this snow is
lying on the ground, so Edit>Free transform the ground snow layer and squish (don't you
love these technical terms I use?) it down until it barely covers the area needed to be covered.
Then, duplicate it a time or two, you will need them.
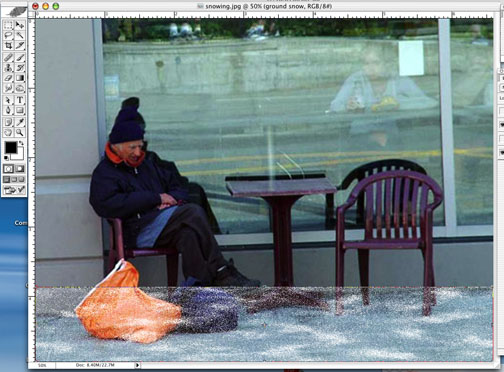
Erase what you do not need and you might use the rubber stamp to simulate accumulations
in areas it would pile up in.
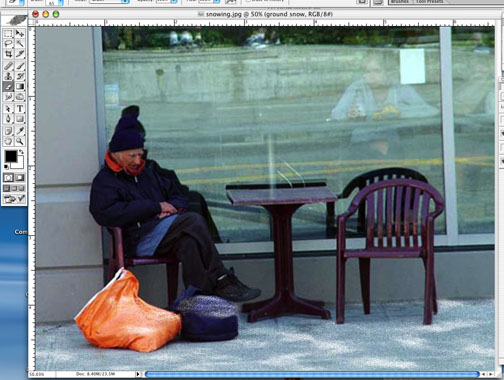
Snow also on table top and chair seat.
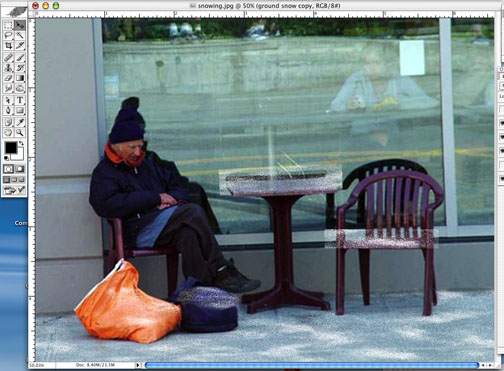
And copied onto old street guy.
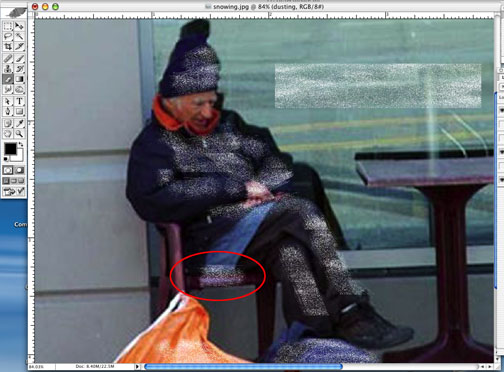
Now, using the eraser, rubber stamp and, most importantly; your EYE, do the final touch up
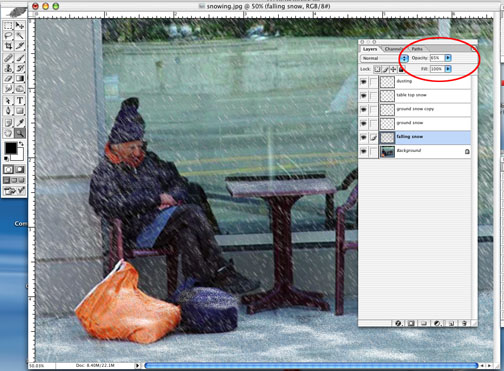
THEN work with the opacity levels on your different snow levels to bring them to pleasing levels
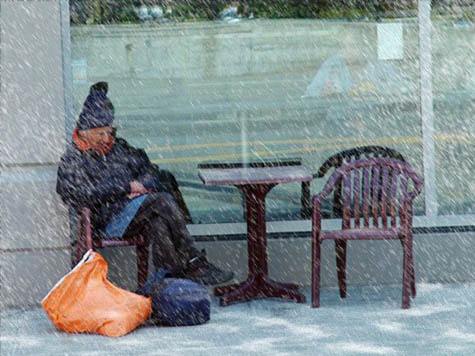
and there you have it, an old fellow facing another tough night.
That is how I have been making snow, I hope this helps.
No comments:
Post a Comment