Create a blank document,with a white background, press "B", and "F5" to open the brush palette, and get a circular hard brush:set it's diameter to 150, choose black color, and draw a single big black dot on the canvas.
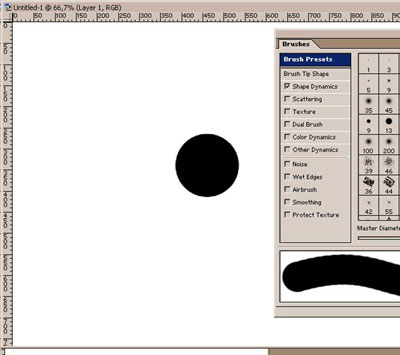
This dot is the shape of the new brush you wanna create: now alter it anyway you want: you can blur the edges to make a softer brush, or just cut one half, whatever: we'll just cut one half,and crop the pic so you get this result
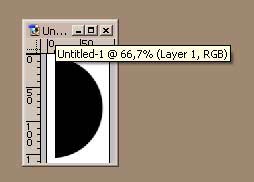
Now, to save it, you can either go to "edit/define brush", or click the small arrow on the brush palette to open its menu and choose "new brush", give it a name, and you'll find it at the bottom of your brush palette.
This brush may look very simple, it's just one half of a dot, but it allows you to work on curved or straight edges without having to change between a circle and a square brush....it's a time saver, just keep your brush palette open, and change the angle of the brush:
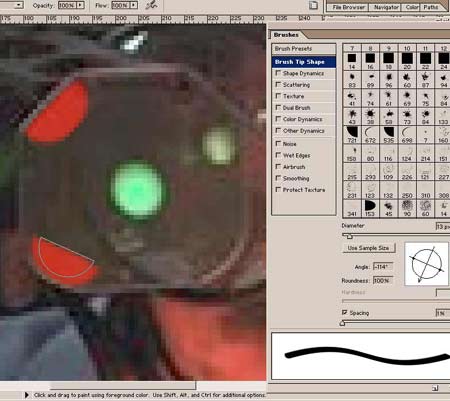
I made a whole set of stencils for myself so I can esaily work on selections in quick mask mode.
Further, you can use all these brushes for erasing, stamping, etc...for example,press (E) and "F5", and just choose the shape/options you want. This is especially usefull for creating scratches, dust, or any organic pattern.
OTHER OPTIONS: We have only used the basic options so far, but others are almost as usefull:on the pic below, I used the shape dynamics/size jitter option, set to 100, to draw an irregular shaped scar on the girl's face, and the brush option was associated with layer options to make the stroke look like a scar:
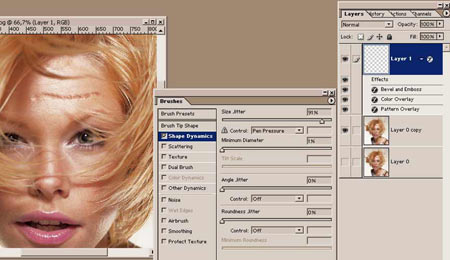
On the next, I set the brush opacity to 70, added some texture and set "roundness jitter" to 100 for more realism.
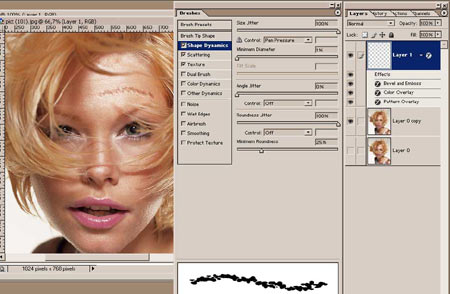
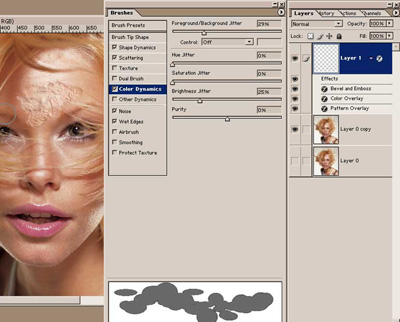
On the following pic, I added some some saturation jitter(color dynamics, wet edges, and noise), to make it even more messy.
You could also try different brush shapes ! what about a nice heart shaped scar?
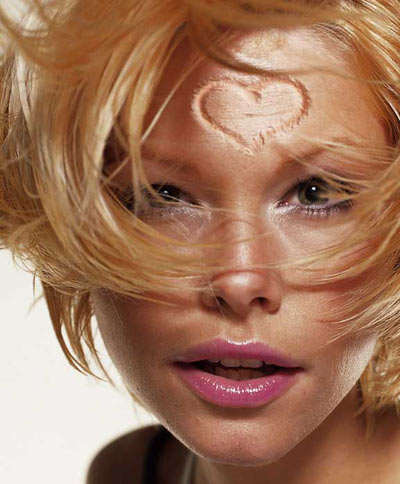
There are hundreds of possible combinations of options, just try them so they serve your needs.
No comments:
Post a Comment